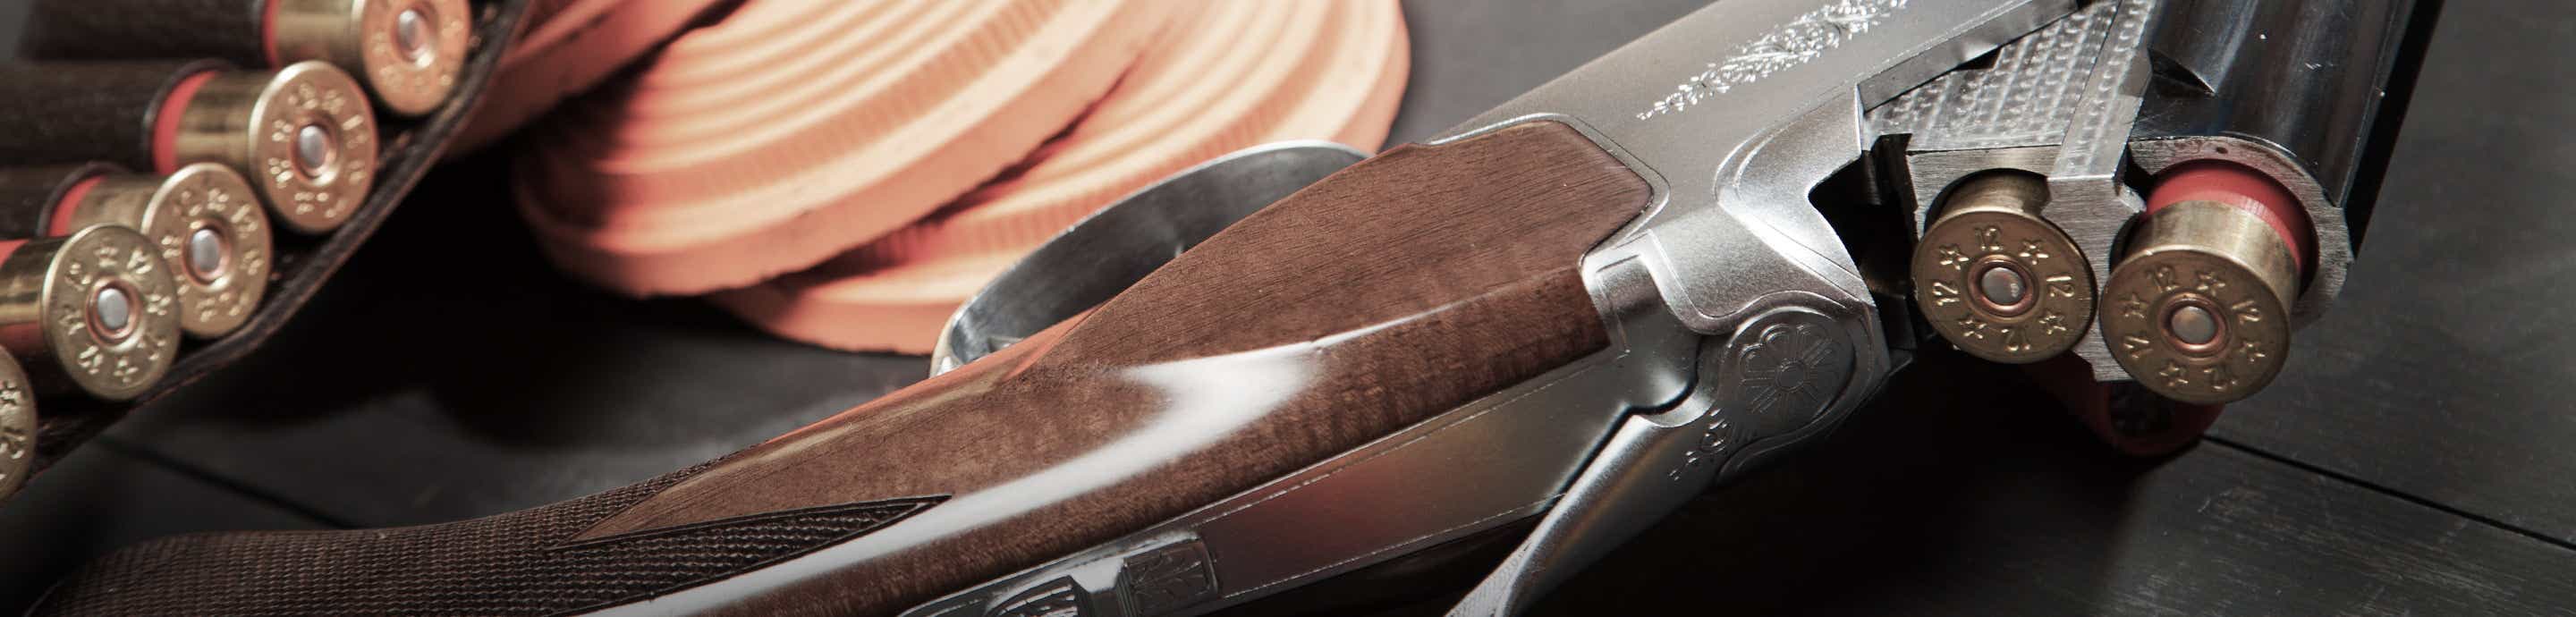

By popular demand, here is an illustrated demonstration of the complexity of fitting an O/U barrel. Please keep in mind that this is NOT a tutorial. The purpose of this post is, quite frankly, to reinforce why you should leave this work to a competent gunsmith; attempting to undertake such a task without the requisite knowledge and skillset could result in financial damage at best and physical harm at worst!
With that said, the first photo shows the progression of fitting the barrel to the receiver's standing face. Proper fit between these surfaces is critical to headspace as well as consistent radial seating of the barrel when closed which promotes consistent engagement between locking bolt and barrel bites.
![Image]()
Speaking of locking bolts; adding an additional barrel to an existing gun often requires fitting of a new locking bolt in order for both barrels to lock up properly. That is a completely different operation that takes a surprising amount of skill to get really right.
Now onto the recoil shoulders, generally known in gunsmith parlance as the draws. Properly fitted draws reduce or even remove strain from the trunnions/pivot(s) every time the gun fires. This is perhaps the trickiest part to fit correctly; but when properly done, it is the mark of a gunsmith/maker who truly knows what he's doing!
![Image]()
In addition, you have the barrel hood and lower pads to deal with. Failure to address these surfaces will prevent the gun closing and/or can cause unnecessary wear.
![Image]()
Cannot forget ejectors! Yes, refitting of ejectors is usually required when the barrel to which they're attached is fitted to a gun. All three of these highlighted surfaces must be properly tended-to for proper closure of the action and timing of ejection. Improperly fitting these surfaces will result in 1) broken ejectors, 2) a gun that will not close, and/or 3) improperly functioning ejectors.
![Image]()
After all of that, the forearm hasn't even been addressed yet. While popping on a forearm seems like a simple operation, up to six surfaces must be addressed in the fitting of a forearm. As with barrel fitting, the fact that the forearm goes on does not mean that it fits!
Although I will not explain how to do these operations.....because let's face it, there are a lot of lawyers with not enough to do.....hopefully this post shines some light on how involved this stuff actually is.
With that said, the first photo shows the progression of fitting the barrel to the receiver's standing face. Proper fit between these surfaces is critical to headspace as well as consistent radial seating of the barrel when closed which promotes consistent engagement between locking bolt and barrel bites.
Speaking of locking bolts; adding an additional barrel to an existing gun often requires fitting of a new locking bolt in order for both barrels to lock up properly. That is a completely different operation that takes a surprising amount of skill to get really right.
Now onto the recoil shoulders, generally known in gunsmith parlance as the draws. Properly fitted draws reduce or even remove strain from the trunnions/pivot(s) every time the gun fires. This is perhaps the trickiest part to fit correctly; but when properly done, it is the mark of a gunsmith/maker who truly knows what he's doing!
In addition, you have the barrel hood and lower pads to deal with. Failure to address these surfaces will prevent the gun closing and/or can cause unnecessary wear.
Cannot forget ejectors! Yes, refitting of ejectors is usually required when the barrel to which they're attached is fitted to a gun. All three of these highlighted surfaces must be properly tended-to for proper closure of the action and timing of ejection. Improperly fitting these surfaces will result in 1) broken ejectors, 2) a gun that will not close, and/or 3) improperly functioning ejectors.
After all of that, the forearm hasn't even been addressed yet. While popping on a forearm seems like a simple operation, up to six surfaces must be addressed in the fitting of a forearm. As with barrel fitting, the fact that the forearm goes on does not mean that it fits!
Although I will not explain how to do these operations.....because let's face it, there are a lot of lawyers with not enough to do.....hopefully this post shines some light on how involved this stuff actually is.


