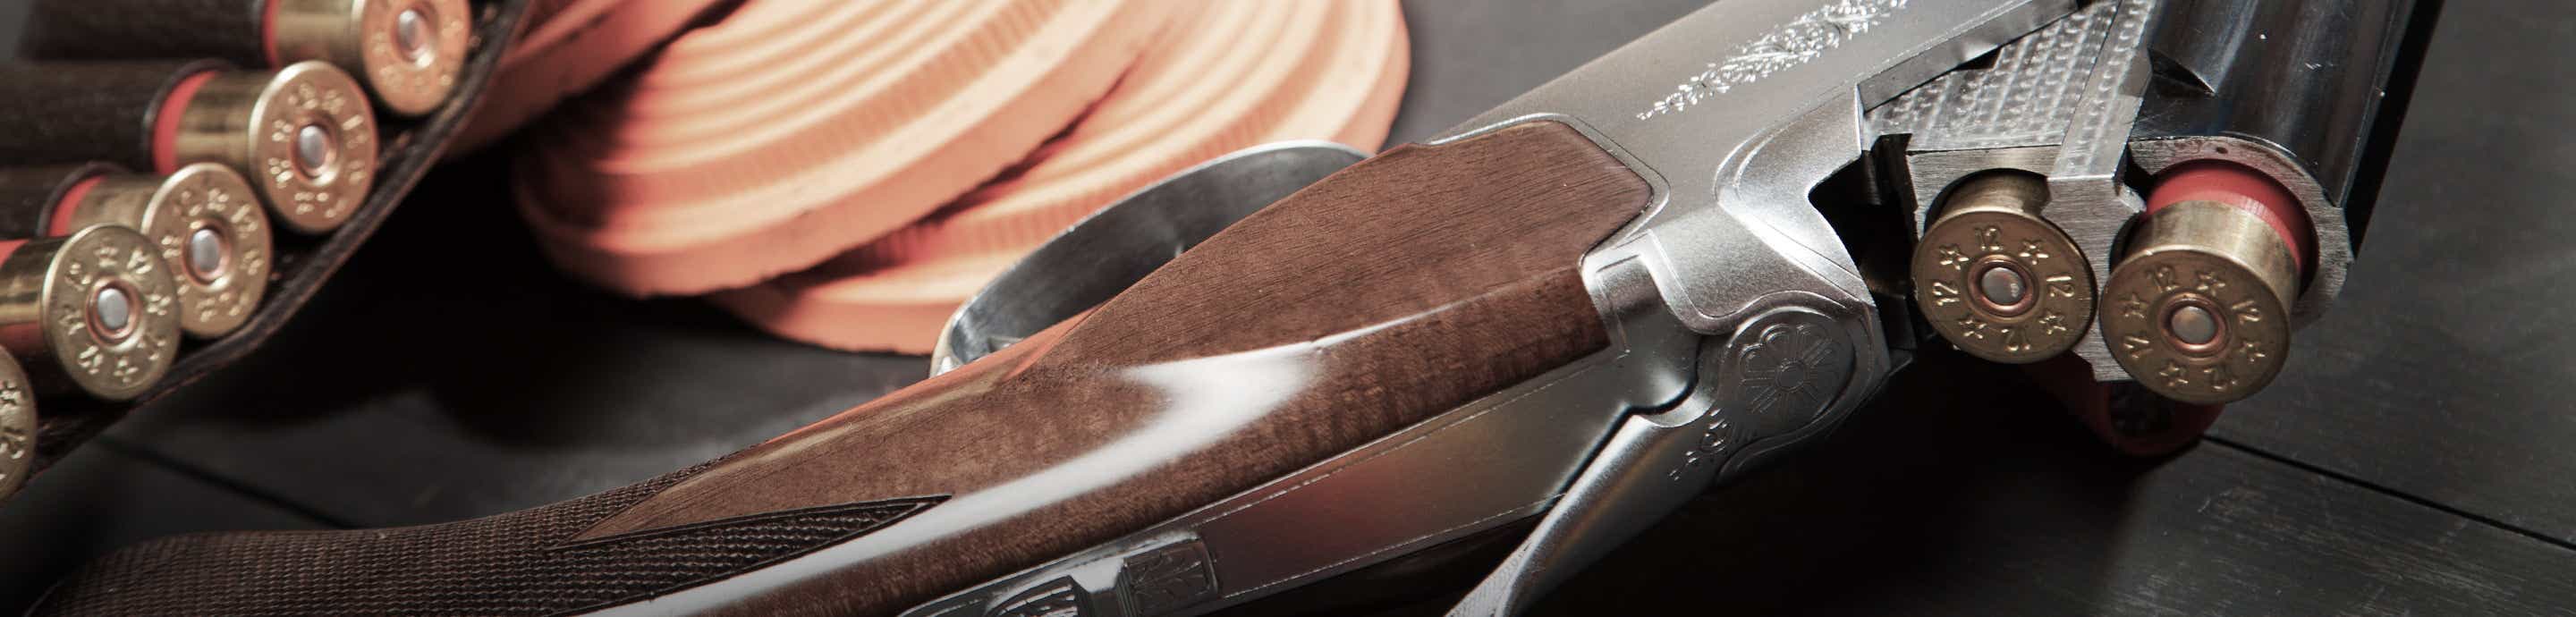
Trapshooters Forum banner
21 - 32 of 32 Posts
Discussion starter · #21 · (Edited)
View attachment 1539447 View attachment 1539449 For simplistic items, like 1100 factory inlay, you can do a “color fill”. Go to YouTube and look for color fill. There are several processes and its not what I would call a permanent thing. But I have done several 1100’s and the Browning Buck inlay on the trigger guards. I used the Estes gold and silver paint markers. Once I get it how I want it, I make sure it is good and dry then apply Renaissance wax to kind of seal it.

The images here are of a roughed up 1100 one of my College athletes got from her grandpa. I stripped it down cleaned it up. Put some better furniture on it that I had here. Took the dents out of the rib and touched up the blueing. Then I did the color fill. Made it look as nice as lipstick on a pig could. She was very happy with the makeover and it sets it off from others.
Wow, nice work! Thank you for sharing this. Where can I buy that paint?
 
Amazon - Testors (Estes was wrong) enamel paint markers metallic. I bought both gold and silver.

Then hit YouTube and look at the color fill videos. No worries about messing it up as Hoppes #9 will lift the color fill right up. So once you have it how you want it be careful with your cleaning process.
 
Look up Texas Plating Supply Co. Buy a kit to plate the gold back on yourself. Use a very border sticky vinyl type tape cut to your exact pattern you want to have the gold plating applied to. You have to plate a copper base first, then the gold adheres to the copper. If you ever look at the wear on a Browning trigger, you will see the copper underneath the gold. The kit and sulfate paste is kind of costly for one project, but you can use it for other guns and items as well.

I have never done this on Browning receiver like you have, but I can't imagine that it would not work. I actually have SC XS downstairs that has this same problem that I refinished the wood for a customer. Hmmm, now I may have to give it a try on a very small test spot.
 
Ok, it seems this would work mentioned above (Bottom Line test). I just took some electrical tape, stuck it to a sheet of Plexiglas and cut it with a straight edge and X-ACTO knife. Then used those straight cuts to run along the slight indentation of the old gold filling. Hooked the negative to the receiver, and the positive to the brush and applied the sulfate, copper then gold. Yes, actual 24K gold. It seems to have worked great on the west side where the tape lines were exactly on the indentation edge. Even a slight overrun would be better, as long as it matches the original outline. It narrowed slightly toward the east, and went over the edge slightly. Kind of a quick test, but if I took the time to be accurate it would I think work very well. It would be a more permanent solution with electroplating.

Although, I would think you would need basically a computer generated laser cut tape with the other emblem and curves.

Image
Image
 
One thought I had when seeing this thread still going is

For Browning users;

Be proactive and have an extremely high grade of clear coat applied to the receiver before the gold look gets damaged.

I say extremely high grade because all coatings age or wear and will fail at some point. Using the best, the top grade will prolong it, while going with a lesser product will do damage longer.

And know I am not a painter so I will have to find a painter for guidance and my first choice would be a maker of brass furniture that needs the most protection to stay looking like new.
 
Discussion starter · #26 ·
Amazon - Testors (Estes was wrong) enamel paint markers metallic. I bought both gold and silver.

Then hit YouTube and look at the color fill videos. No worries about messing it up as Hoppes #9 will lift the color fill right up. So once you have it how you want it be careful with your cleaning process.
Ok, I am a dunce when it comes to this stuff. Got the Testors Gold. The tip is like a chisel tip. So do you color in the designs, let the oversmears dry and then use the Hoppes? Can you recommend or post a link to the best color fill videos? Thanks
 
Those gold fill products are for stamped or engraved fillings

Meaning that they need a hole to fill!

No hole no fill!

Or only fill a scratch if it is deep enough.

Using it on a surface, like Browning has been using?

That is not what the gold fill is made for!
 
Ok - hear goes. Use rubbing alcohol to clean the fill area of any oils. Let it dry. Mask off any areas you don’t want filled. Shake the ink pen. Push down the tip a few times in the fill area. The tip recesses into the pen to pick up paint. Cover the fill areas liberally. Wait just a little bit (maybe 30 seconds). Take a small flexible straight edge (business card/credit card) with a cleaning patch stretched across the edge at an angle to the fill area. Scrape/swipe the excess paint off of the fill area. Take another cleaning patch and lightly soak it in rubbing alcohol and lightly wipe over the fill area to pick up the paint that is above the recessed/fill area. Repeat this step until the area is clean except for the fill. Try to not push into the recessed fill area. If fill isn’t sufficiently covered. Refill with paint and repeat cleaning process. Once you have it how you like it, let it dry and go over the area with a light coating of Renaissance wax.
 

This is close to what i described.
Ok so that looks good!

But it has an indentation, a recessed area right?

Now can you use the same product and put an "S&W" on the FLAT surface between the word shield and the finger grooves?

Because that is what this thread is about! Putting gold letters and figures on a FLAT surface with nothing (no lines stamped or engraved) to fill that gold into!

The problem that Browning owners are encountering is that Browning found away to mimic gold inlays with out ever making a dent stamping or engraved groove! When whatever they put on the flat surface wears away there is only a flat surface left! Nothing to fill that product into!
 
I don’t believe so. I have only used this method on Remington 1100’s receiver inlays and Browning BT99’s trigger guards where there is a recessed area for the color fill to find a home. The color fill needs a “below grade” recession to “fill”. If it is a totally smooth surface without a recessed area you are going to need another plan. Sorry if the information I provided gave any impression (no pun intended) otherwise.
 
I asume Browning enamals the reciever 1st. Then in the area the clean off the enamel where thy want plated electricly. After they get the proper build up the remove the enamel on the reciever. Then cover the plated area and set up their lazer to cut the socalled engraving.
Yes browning could redo the gold but your paying alot of money for 50 cents worth of fools gold.
 
21 - 32 of 32 Posts